[ad_1]
Published: December 4, 2023
Use these 4 creative, handmade gift ideas to show appreciation for your volunteers this Christmas.
Looking for a great way to tell your volunteers just how much you appreciate them this Christmas? Do you dream of giving them something a little different and a little more personal—but you’re strapped for time or funds? If you want to add a personal touch to your thank-you’s this year, here are four heartfelt, handmade gifts that anyone can make.
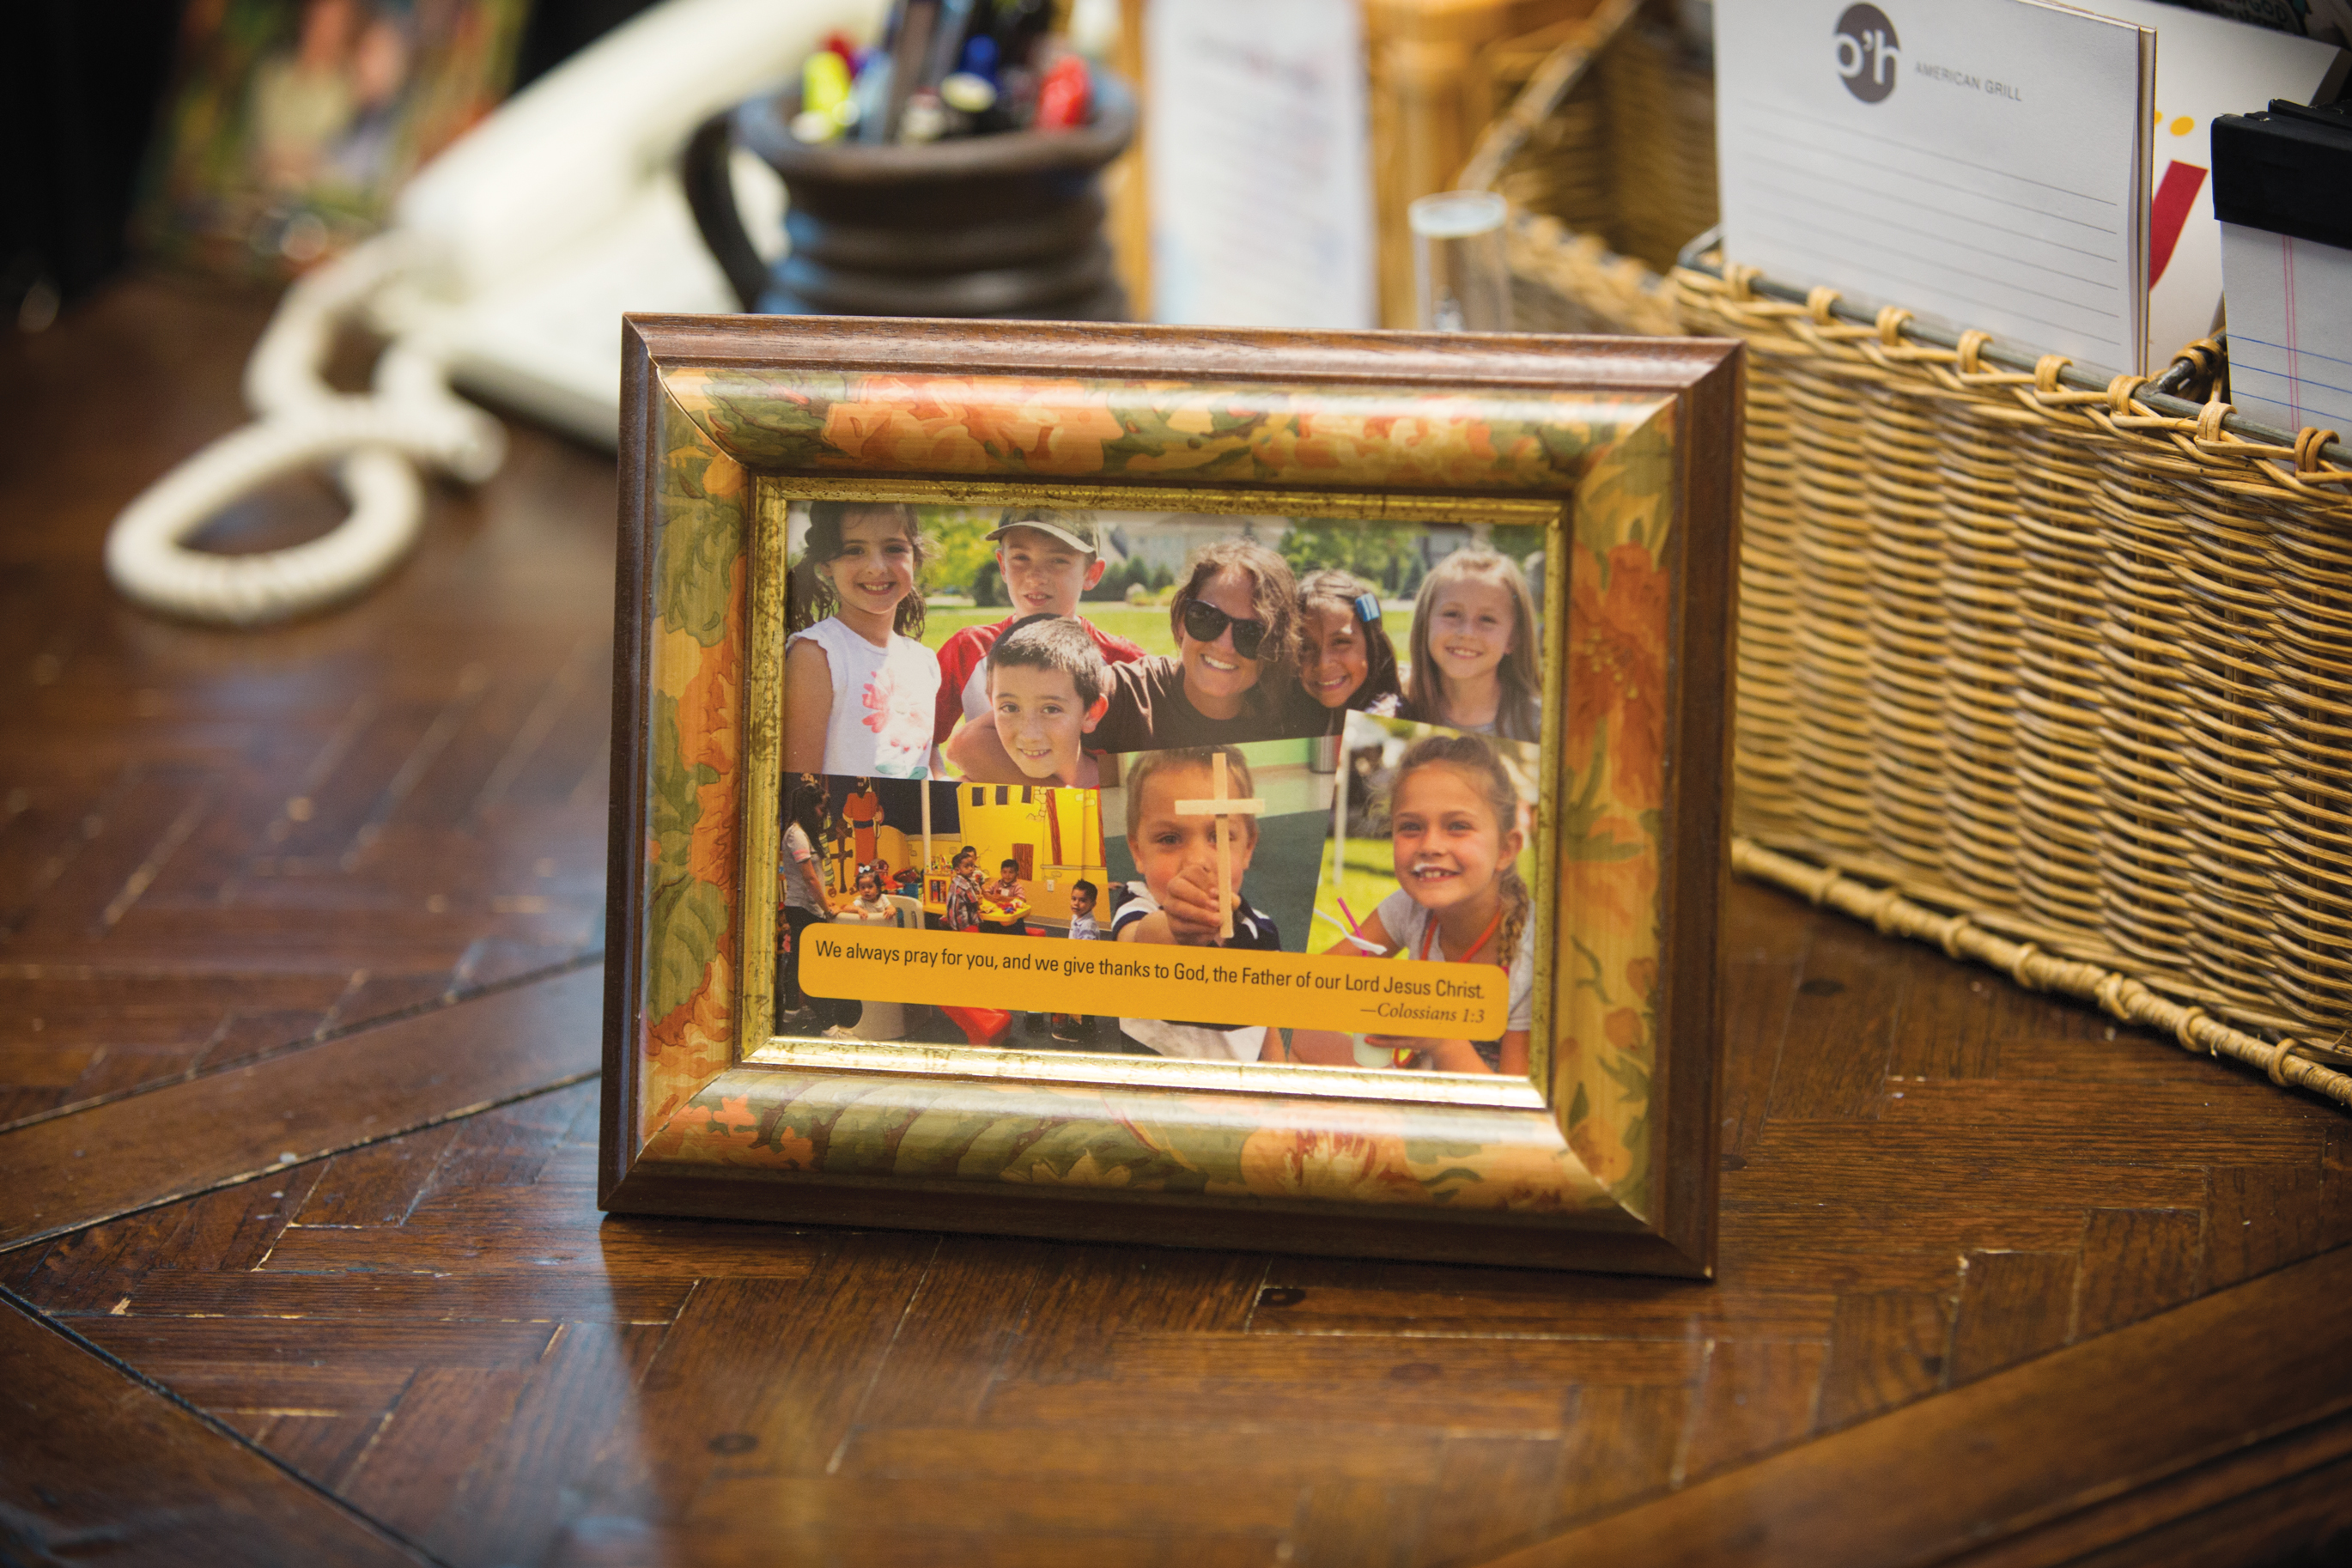
Volunteer Appreciation Gift 1. Class Collage
 This heart-melting craft is easy to assemble—and kids love to help.
Time and Budget: Low impact
Supplies:
- copies of a variety of photos from different children’s ministry events throughout the year
- 5×7 picture frames (1 per volunteer)
- 5×7 pieces of card stock (1 per volunteer)
- glue sticks
- scissors
- preprinted Bible verse trimmed small enough to fit within each frame
Choose the photos you’ll arrange in the collage. (For teachers, you may want to do images of the children they teach.) Trim the photos, and attach them to the card stock using a glue stick. Glue the Bible verse across the bottom of the card stock, leaving space for the margins that will be covered by the frame. Allow the glue to dry, and then place the collage into the frame.
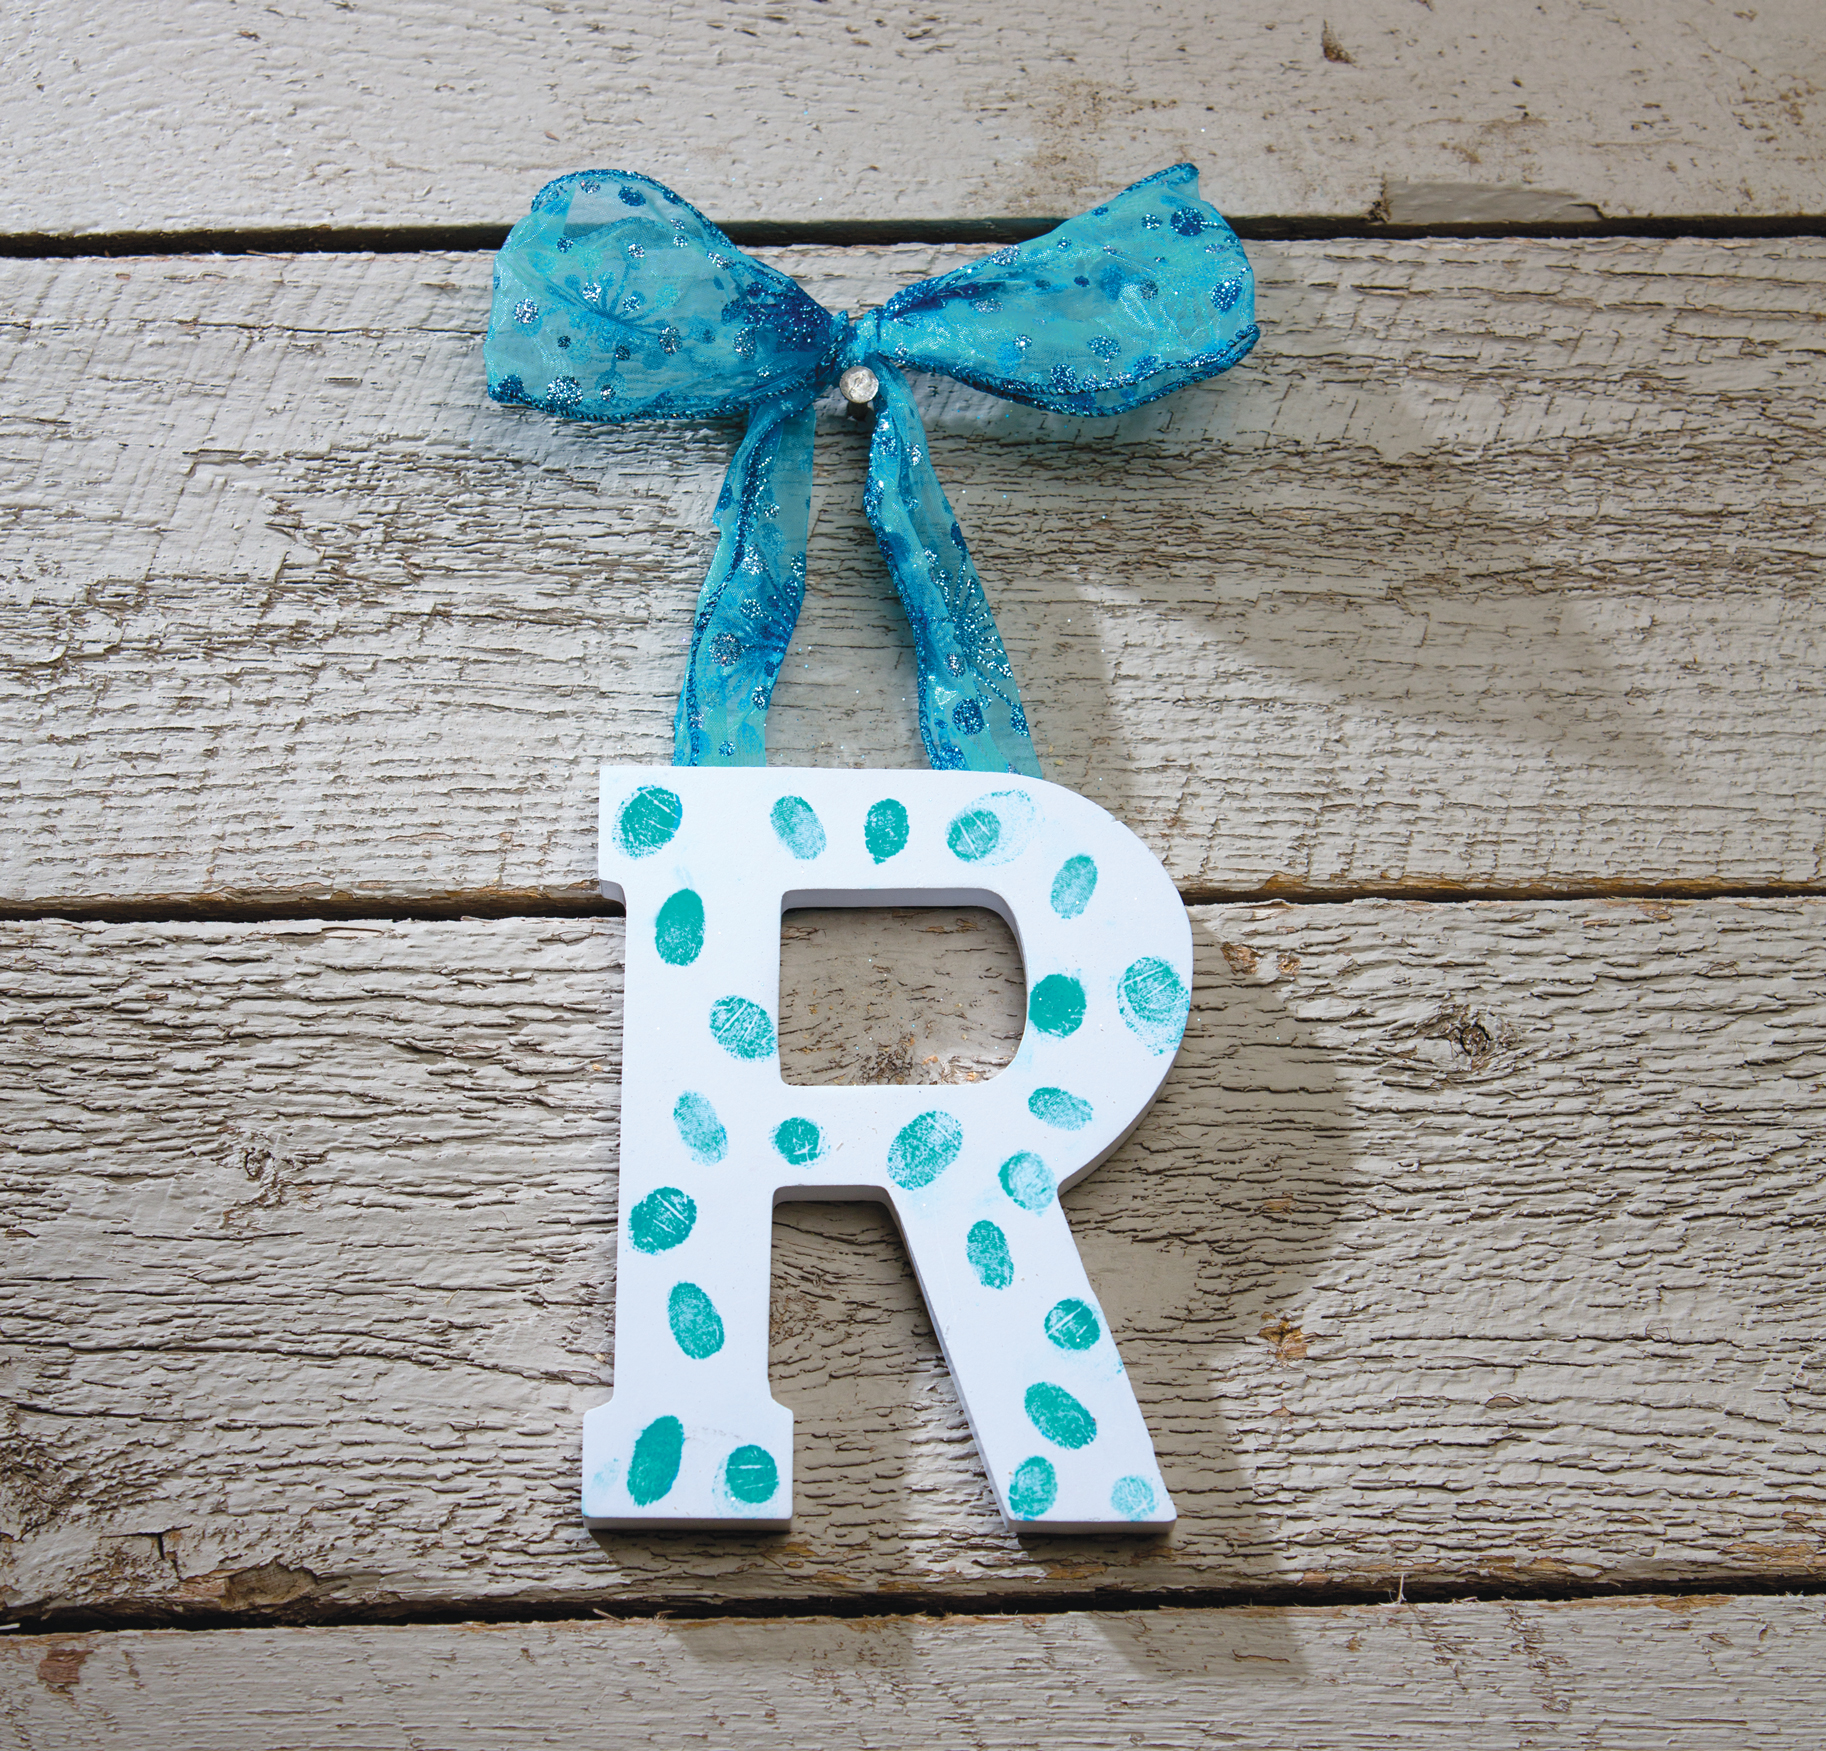
Volunteer Appreciation Gift 2. Fingerprint Initials
This gift is an ideal way to incorporate kids’ appreciation into a special project that affirms volunteers.
Time and Budget: Low impact

Supplies:
- 8-inch wooden letter for the first initial of each volunteer’s name (available in craft stores)
- finger paint in a variety of colors
- 1⁄2-inch-wide ribbon in a variety of colors
- scissors
- fine-tipped paintbrushes
- paper plates
- hot glue
Set out paintbrushes, and pour paint onto paper plates. Help kids paint specific designs, pictures, or positive words such as “love” and “thank you” on the letters. Once the letters are decorated, carefully paint each child’s fingertip and help him or her press a fingerprint onto the letter in an empty spot. (Alternative idea: Depending on the age of your kids, you may wish to have all the kids make a fingerprint on each letter rather than decorating the letters with pictures or words.) Once the letters are dry, use hot glue to attach a looped piece of ribbon at the top to create a hanger.
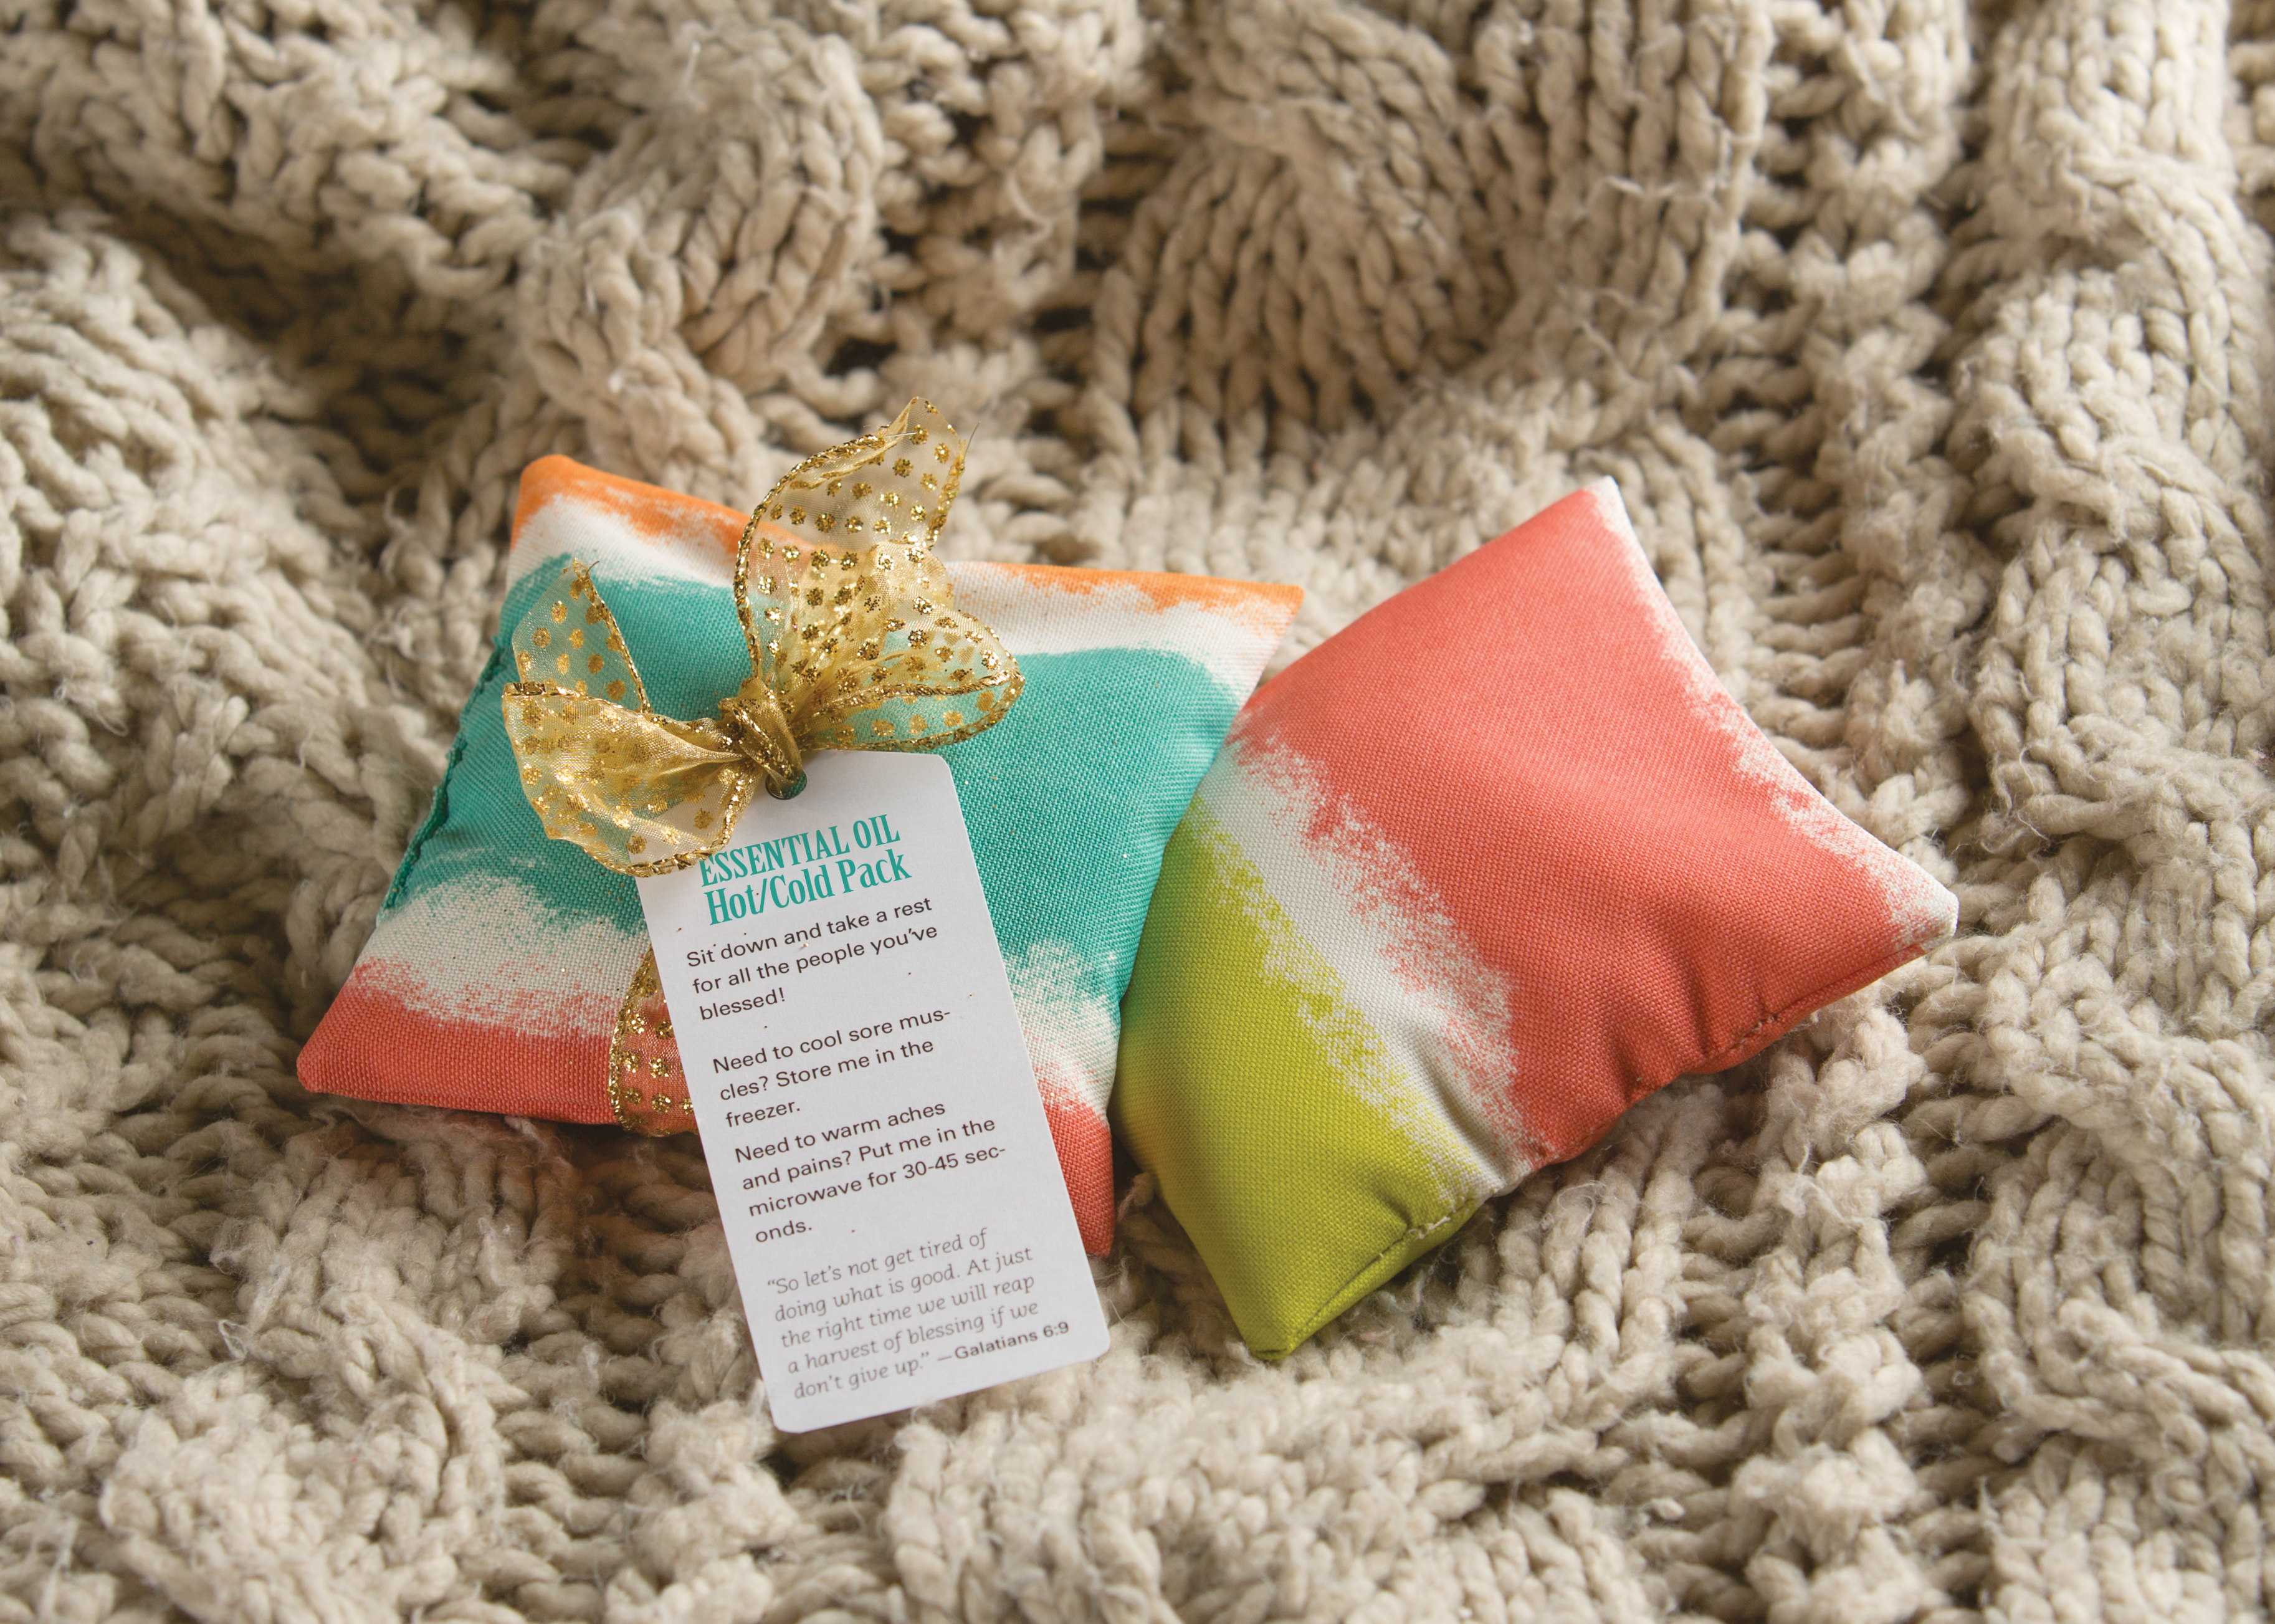
Volunteer Appreciation Gift 3. Essential Oil Hot/Cold Pack
Create this caring keepsake that’ll remind volunteers of your ministry each time they use it.
Time and Budget: Medium impact
 Supplies:
For each pack, you’ll need:
- 12×6-inch piece of durable, decorative fabric (1 per pack)
- sewing thread
- fragrant essential oil such as lavender (available at health stores)
- 1 1⁄2-cups of dried rice
- narrow Christmas ribbon
- preprinted instructions on how to use the pack (see sample)
You’ll also need:
- a bowl
- spoon
- people willing to hand- or machine-sew the fabric hot/cold packs
Mix ingredients for one hot/cold pack at a time. Place the rice in a bowl, and sprinkle several drops of the essential oil over it. Stir and repeat three times; then let the mixture dry. Then, to sew the packs, fold the fabric strip in half, wrong side facing out. Sew two sides, creating a pocket. When the pocket is complete, turn it right-side-out. Fill the pocket with the rice mixture, and then sew closed the opening so none of the rice will fall out. Using the Christmas ribbon, tie on the preprinted instructions.
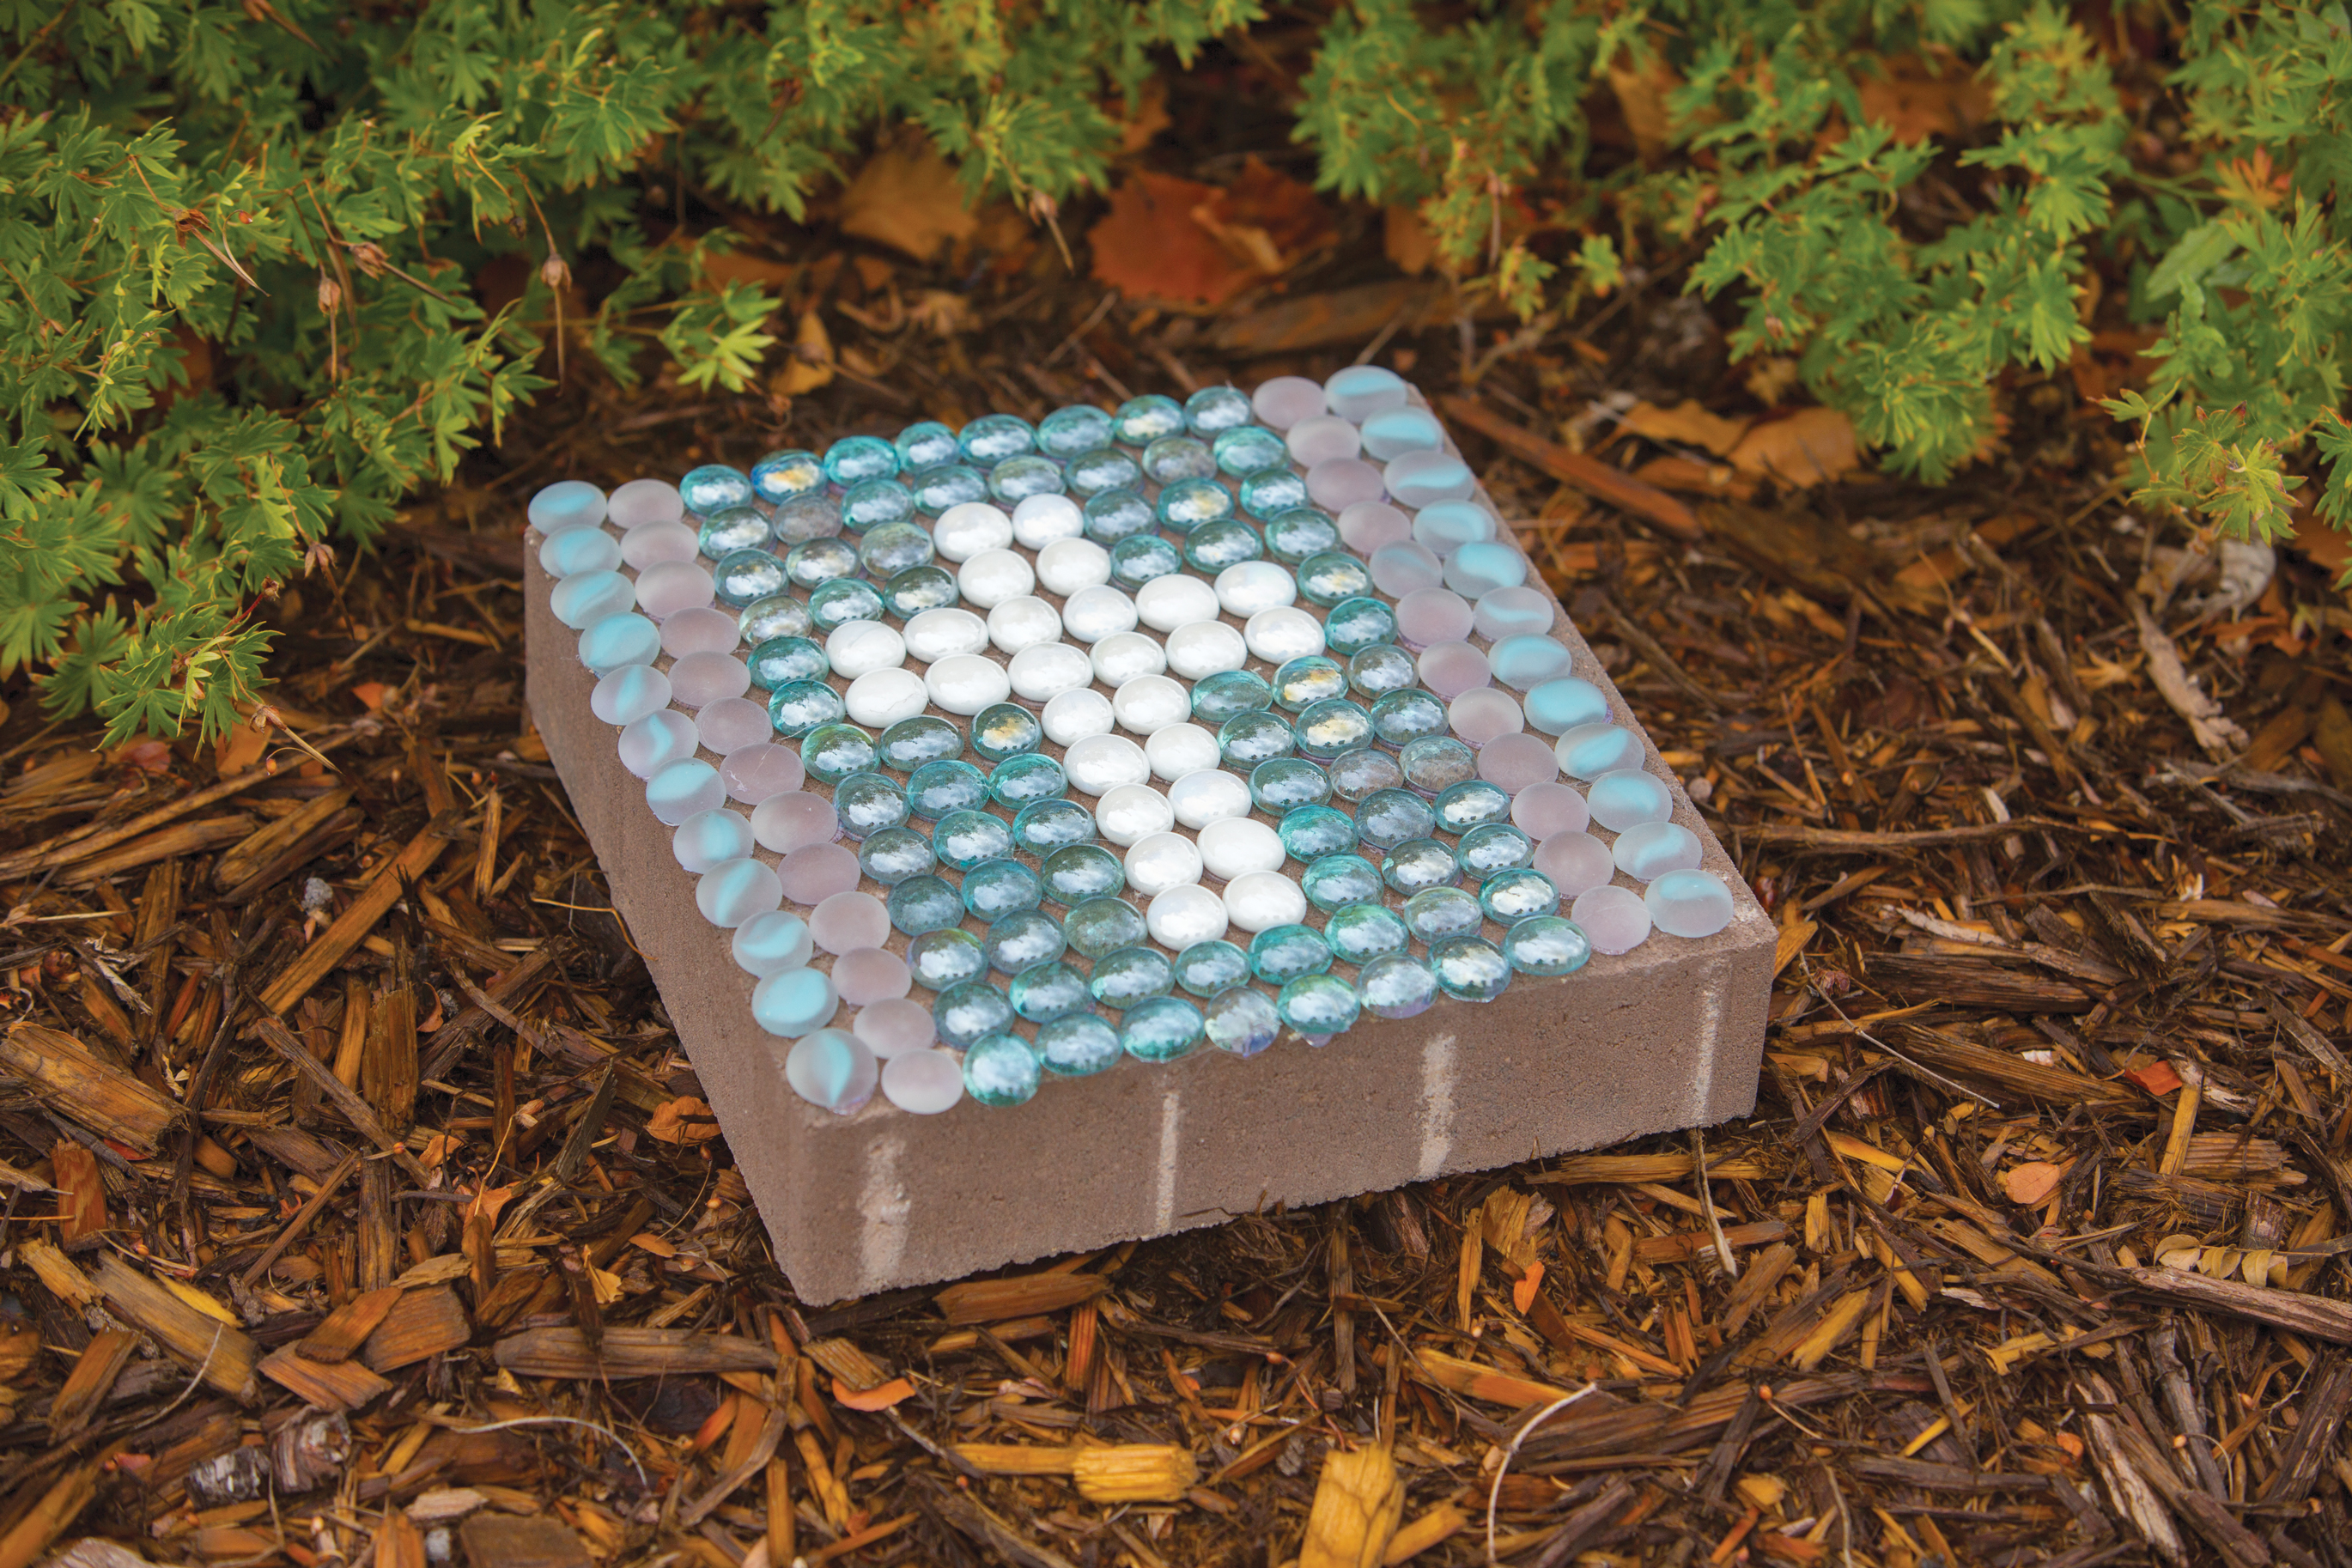
Volunteer Appreciation Gift 4. Mosaic Plaque
This project is super fun to make and lets you personalize your gift. It requires heavier lifting on supplies, but the end result is something that will put a sparkle in volunteers’ eyes.
Time and Budget: High impact
Supplies:
For each volunteer gift, you’ll need:
- 1 plain, smooth garden paver stone (available at home improvement stores)
- 2 bags of different-colored glass gems (available at craft stores)
 You’ll also need:
- a hot glue gun
- plenty of glue sticks
- a permanent marker
First, draw a simple Christian design (such as a cross or fish) on the stone with the permanent marker. Then, arrange the gems following the design, completely covering the top of the stone. After the gems are arranged as you’d like, use hot glue to secure them. Let the glue set completely before wrapping your gift.
 Hilary Romig is a writer living in Ruidoso, New Mexico.
Check out all these Christmas ideas!
© Group Publishing, Inc. All rights reserved. No unauthorized use or duplication permitted.
[ad_2]
Source link


You must be logged in to post a comment.